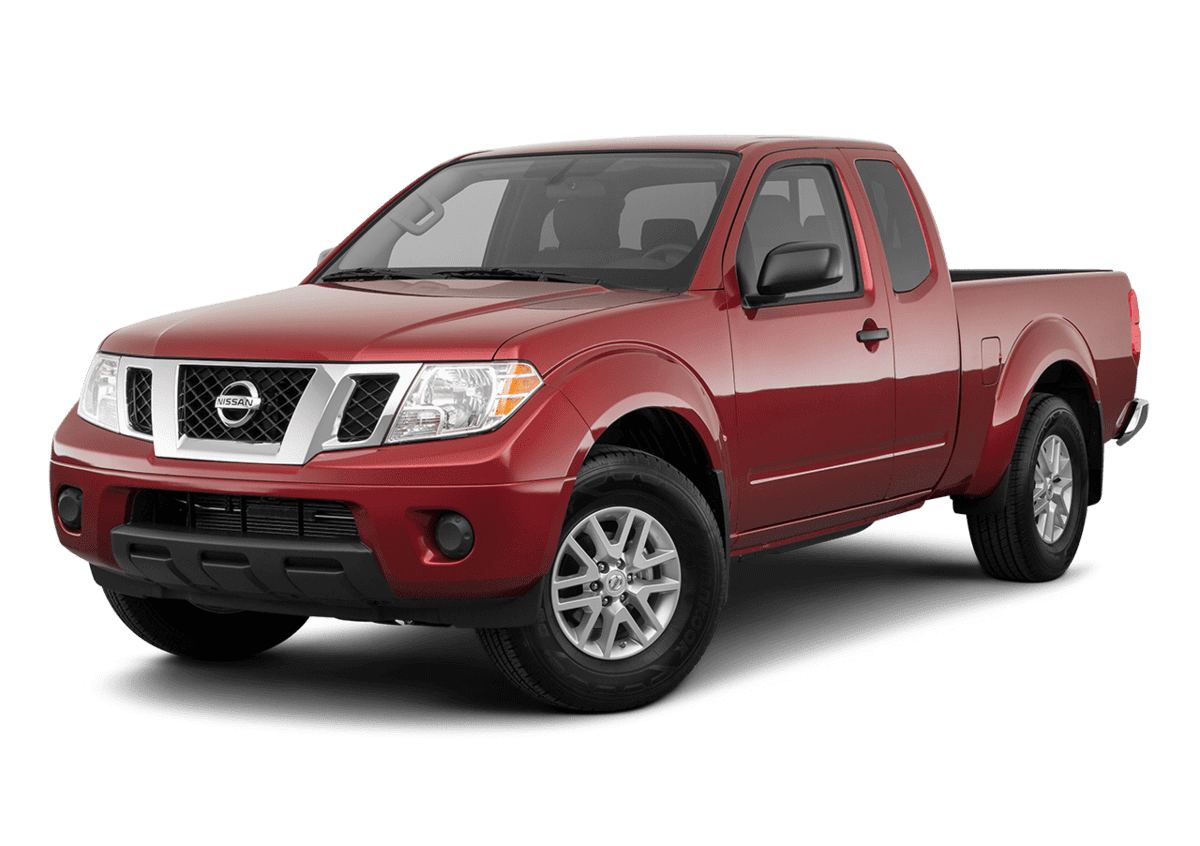
| Classification: | Reference: | Date: |
| EL19-041d | NTB19-090d | December 5, 2019 |
VOLUNTARY RECALL CAMPAIGN
2019 FRONTIER; AV CONTROL UNIT (INFOTAINMENT) SOFTWARE UPDATE
This bulletin has been amended. See AMENDMENT HISTORY on the last page. Please discard previous versions of this bulletin.
Check Service COMM or Dealer Business Systems (DBS) National Service History to confirm campaign eligibility.
INTRODUCTION
Nissan is conducting this voluntary recall campaign on certain specific model year 2019 Frontier vehicles to update the software of the AV control unit. This service will be performed at no charge to the customer for parts or labor.
IDENTIFICATION NUMBER
Nissan has assigned identification number R1911 to this campaign. This number must appear on all communication and documentation of any nature dealing with this campaign.
DEALER RESPONSIBILITY
It is the dealer’s responsibility to check Service COMM or Dealer Business Systems (DBS) National Service History for the campaign status on each vehicle falling within the range of this voluntary recall which for any reason enters the service department. This includes vehicles purchased from private parties or presented by transient (tourist) owners and vehicles in a dealer’s inventory. Federal law requires that new vehicles in dealer inventory which are the subject of a recall must be corrected prior to sale. Failure to do so can result in civil penalties by the National Highway Traffic Safety Administration. While federal law applies only to new vehicles, Nissan strongly encourages dealers to correct any used vehicles in their inventory before they are retailed.
REQUIRED SPECIAL TOOLS
- Special tool USB drives have been shipped to each dealer: J-52812-4, J-52812-5 and J-52812-11.
- Additional USB drives are available from TechMate: nissantechmate.com or 1-800-662-2001.
IMPORTANT:
It is highly recommended that the provided campaign USB drives, J-52812-4, J-52812-5 and/or J-52812-11, be used.
HINT:
- If unavailable, the reprogramming software may be downloaded onto special tool USB drive J-52727-1 using the Infotainment Software Download procedure.
- Special tool USB drive J-52727-1 has also been shipped to each dealer.
- Click here to access the Infotainment Software Download procedure. After the software has been downloaded, continue to the appropriate procedure in this bulletin.
SERVICE PROCEDURE
- Confirm which audio system is present in the vehicle (see Figure 1 and Figure 2 below).
- If the vehicle is equipped with navigation, as shown in Figure 1 below, continue to step 2.
- If the vehicle is NOT equipped with navigation, as shown in Figure 2 below, skip to step 23 on page 10.
Update AV Control Unit
- Connect a battery maintainer or smart charger, and set to reflash mode or a similar setting.
NOTE: This reprogram will take approximately 60 minutes after the Update button has been selected.
- Set the parking brake.
- Turn the ignition ON (engine OFF).
- Turn the hazard warning lights ON to prevent the BCM from going into battery saver mode.
NOTE: If at any time during this procedure, the status message “Update Failed !” is displayed with the direction to “Insert update media” while a countdown from 60 is displayed or the audio unit continuously reboots (restarts), insert special tool USB drive J-52812-11 and proceed to step 15 on page 6. It may take 3-5 minutes for the system to recognize the USB drive.
- Write down the audio settings.
- Turn the audio system OFF.
- Access the SERVICE MENU.
- Press and hold down the APPS or MENU button, and at the same time rotate the TUNE-SCROLL knob more than three clicks counterclockwise, then more than three clicks clockwise, and continue rotating back and forth until the SERVICE MENU displays.
NOTE: The audio system must be OFF in order to access the SERVICE MENU.
- Select Version.
- Select Update System Software.
- Insert special tool USB drive J-52812-11 into the vehicle’s USB media port (see Figure 5 and Figure 6).
- DO NOT remove the USB drive during the software update until instructed.
DO NOT insert the USB drive into a charging port (see Figure 7). Charging ports are marked in the vehicle with a “lightning bolt” symbol. If used, the software update and/or USB drive may become damaged. Only insert the USB drive in a USB media port.
- Select OK.
- Wait for the APPLICATION screen to display (Figure 9).
- Select Update.
HINT: After selecting Update, the screen will go black for up to 1 minute. This is a normal part of the update.
- Wait until the update is complete (this can take up to 60 minutes).
- The screen in Figure 10 will be displayed during the update.
- Figure 11 may display before the update begins. DO NOT remove the USB drive during the update.
IMPORTANT: If directed to skip to step 15 due to screen message “Insert update Media”, it may take 3-5 minutes before the USB drive is recognized and for the update to begin.
- When Figure 12 is displayed, remove the USB drive to complete the update.
- This will cause the system to restart and may take up to 1 minute.
NOTE: Do not turn the ignition OFF.
- If the message “No SD card is inserted. Please use a Nissan SD card only” is displayed (Figure 13), proceed to step 17 on page 8.
- If the APPLICATION screen is displayed (Figure 14), proceed to step 18 on page 8.
- If neither screen is displayed, the update is complete. Proceed to step 19 on page 9.
- Remove and reinsert the map SD card from the card slot.
- After the map SD card is reinserted, the APPLICATION screen will display (Figure 15).
- Select Update.
- The update will take about 1 minute to complete, and the screen in Figure 16 will display.
- The message “Download successful. System will reboot now” will display and the audio unit will reboot (Figure 17).
- After the system reboots, the update is complete.
- Turn the hazard warning lights OFF.
- Remove special tool USB drive J-52812-11.
- Restore the radio presets.
- Turn the ignition OFF.
IMPORTANT: Instruct the customer to go into their Bluetooth phone settings and perform the steps below.
- Delete/erase the car from their phone’s Bluetooth® menu for the current pairing of their phone and vehicle.
- Then re-pair the phone.
- If this is not done, the phone may no longer connect with the vehicle.
The repair is complete. Refer to the CLAIMS INFORMATION on the last page.
Update AV Control Unit
HINT: This will require two (2) USB drives.
- Turn the hazard warning lamps ON.
- Turn the ignition ON.
- Turn the audio ON.
- Write down the radio settings.
- Turn the audio OFF.
- Insert special tool USB drive J-52812-4 into the vehicle’s USB media port (see Figure 18 and Figure 19).
DO NOT insert the USB drive into a charging port (see Figure 20). Charging ports are marked in the vehicle with a “lightning bolt” symbol. If used, the software update and/or USB drive may become damaged. Only insert the USB drive in a USB media port.
- Select Yes to begin the reprogramming process.
HINT:
- Reprogramming will take about 4-5 minutes.
- In rare cases it may take up to 20 minutes.
- Wait until the audio unit reboots and the home screen is displayed before moving to the next step.
IMPORTANT: If the display is blank for 30 seconds after reprogramming completes:
- Cycle the ignition OFF and then back ON, then
- Press the audio power button to turn ON the audio, then
- Continue the procedure.
- Remove the USB drive.
- Insert special tool USB drive J-52812-5 into the USB media port.
- Select Yes to continue the reprogramming process.
HINT:
- Reprogramming will take about 4-5 minutes.
- Wait until the audio unit reboots.
- Remove the USB drive from the USB port.
- Perform audio unit initialization.
a. Press and hold the Menu button.
b. Press and hold the Audio button.
c. Press the “Seek right” button 3 times.
HINT: A screen similar to the one in Figure 24 will appear.
d. Select Next at the bottom right side of the screen.
e. On the second page of the menu screen, select Factory Cold Start. (Screen not shown)
f. Select YES on the confirmation screen as shown in Figure 25.
NOTE: Initialization is complete after the audio unit reboots.
- Turn the hazard warning lights OFF.
- Restore the radio presets.
CLAIMS INFORMATION
Submit a “CM” line claim using the following claims coding:
| CAMPAIGN (“CM”) ID | DESCRIPTION | OP CODE | FRT |
| R1911 | Update AV Control Unit Software (With Navigation) | R19111 | 0.3 hrs |
| Update AV Control Unit Software (Without Navigation) | R19110 | 0.2 hrs | |
| Reprogram Not Needed | R19113 | 0.2 hrs |
AMENDMENT HISTORY
| PUBLISHED DATE | REFERENCE | DESCRIPTION |
| October 29, 2019 | NTB19-090 | Original bulletin published |
| November 5, 2019 | NTB19-090a | APPLIED VEHICLES section and step 29 revised |
| November 19, 2019 | NTB19-090b | Information on page 3 added, and step 30 revised |
| November 21, 2019 | NTB19-090c | CLAIMS INFORMATION revised |
| December 5, 2019 | NTB19-090d | Removed all information related to 2018 Frontier |
Remedy Instructions and TSB
RCRIT-19V654-9042.pdf 679.306KB
Remedy Instructions and TSB
RCRIT-19V654-7590.pdf 3122.877KB
Remedy Instructions and TSB
RCRIT-19V654-7390.pdf 3122.541KB
Remedy Instructions and TSB
RCRIT-19V654-9395.pdf 2802.866KB
Remedy Instructions and TSB
RCRIT-19V654-5143.pdf 2801.481KB
Nissan Navigation Updates
navigation system map updates and related products for your Nissan vehicle

- Genuine OEM Nissan Map Data SD Memory Card
- Manufacturer Part Numbers: 25920-9HM0A, 25920-9HM0B, 25920-9HS0A, 5920-9HT0A
- Is A Direct Fit For The Following: 9403-06-8419
- Nissan Juke 2016-2017 Nissan Rogue Sport 2017-2018 Nissan Versa Note 2015-2017 Nissan Versa 2015-2017 Nissan NV1500 2015-2018
- Nissan NV2500 2015-2018 Nissan NV3500 2015-2018 Nissan Titan XD 2016-2018 Nissan Titan 2017-2018


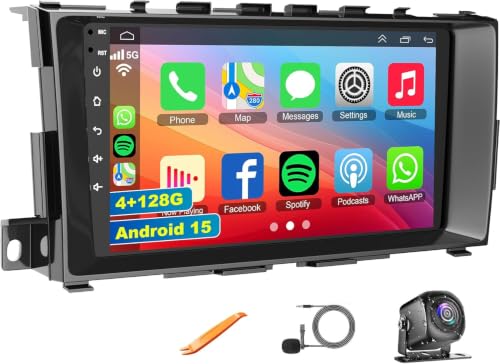
- ✅【Car Radio for 2013-2018 Nissan Altima】Easy to install and use radio dash kit is perfect fits your Nissan Altima 2013 2014 2015 2016 2017 2018 year car model. The package includes Altima radio unit, power cable, free HD 1080P backup camera, external microphone, GPS antenna etc ( If your car has a left and right rearview and 360° panoramic image, the car stereo is not compatible.)
- ✅【Wireless Carplay and Android Auto】This Altima Upgrade Replacement is compatible with wireless/wire apple CarPlay and Android Auto, you can make calls hands-free with the help of Siri or Goo-gle assistance, easy to get phone contacts, emails, notifications, map navigation, music, videos and more
- ✅【GPS Navigation & WIFI】The GPS Navigation Head Unit built-in GPS module and external GPS antenna for online or offline map navigation. Offline map data preloaded, ready to use after installation,includes voice and visual turn-by- directions 11 million+ POI library, 2D & 3D routes, fuel tracker. this car radio also supports WIFI Hot-spot connection
- ✅【Android 15 System and 4GB+128GB】Our Android 15.0 car audio receivers with 9 inch IPS Touch Screen built-in 4G RAM + 128G ROM system, ensures smooth operation and faster response. WiFI, Network, On-line surfing Available. After connected to WiFi or personal Hotspot, this Car Stereo allows you install android Apps from Application Store.
- ✅【Bluetooth Function& Steering Wheel Control】This Bluetooth5.2 radio supports answering/ making Bluetooth phone calls with hands-free. The built-in microphone picks up your voice and your car speaker can help you hear the person on the other side clearly. Use the steering wheel buttons to control the car audio, which is more convenient for operation and safer for driving
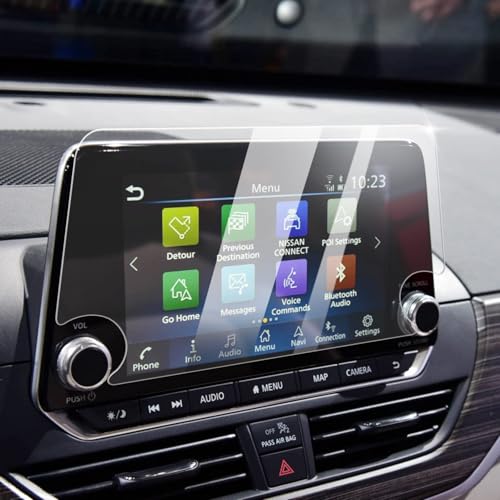
- Compatible Vehicles of Screen Protector: It is compatible with Nissan Altima 2.5 Platinum/SL/SV 2019-2022, 2.5 SR 2019-2025. For Rogue S/SV 2021-2025 2026 and Rogue Rock Creek 2026. Also For Sentra SR/SV 2020-2025 2026, which comes with 8-inch touchscreen (Not For Rogue Sport and Rogue Platinum/SL).
- Advanced Screen Protector Nissan Sentra: Advanced anti-explosion effect, strengths the hardness to 9H, enables to mitigate the wallop and prevent from scratching. It does not cause fragmentation and damage to the human body and the screen even if it ruptures, and still remain the whole one piece.
- Upgraded Nissan Sentra Screen Protector : The effect of anti-fingerprint has significant enhanced by contrast the traditional screen protector. No longer fingerprint leaves on the screen protector.
- Easy Installation: Aligning the four corners and install it, then Nissan Altima screen protector can be effectively installed to the screen, without any air bubbles leaving.
- Great Structure: The Nissan Rogue screen protector could always keep wet and have a smooth touch feel, in addition, it can reduce the glare due to there is a layer of scrub coating.
This product presentation was made with AAWP plugin.